
The Next Challenge
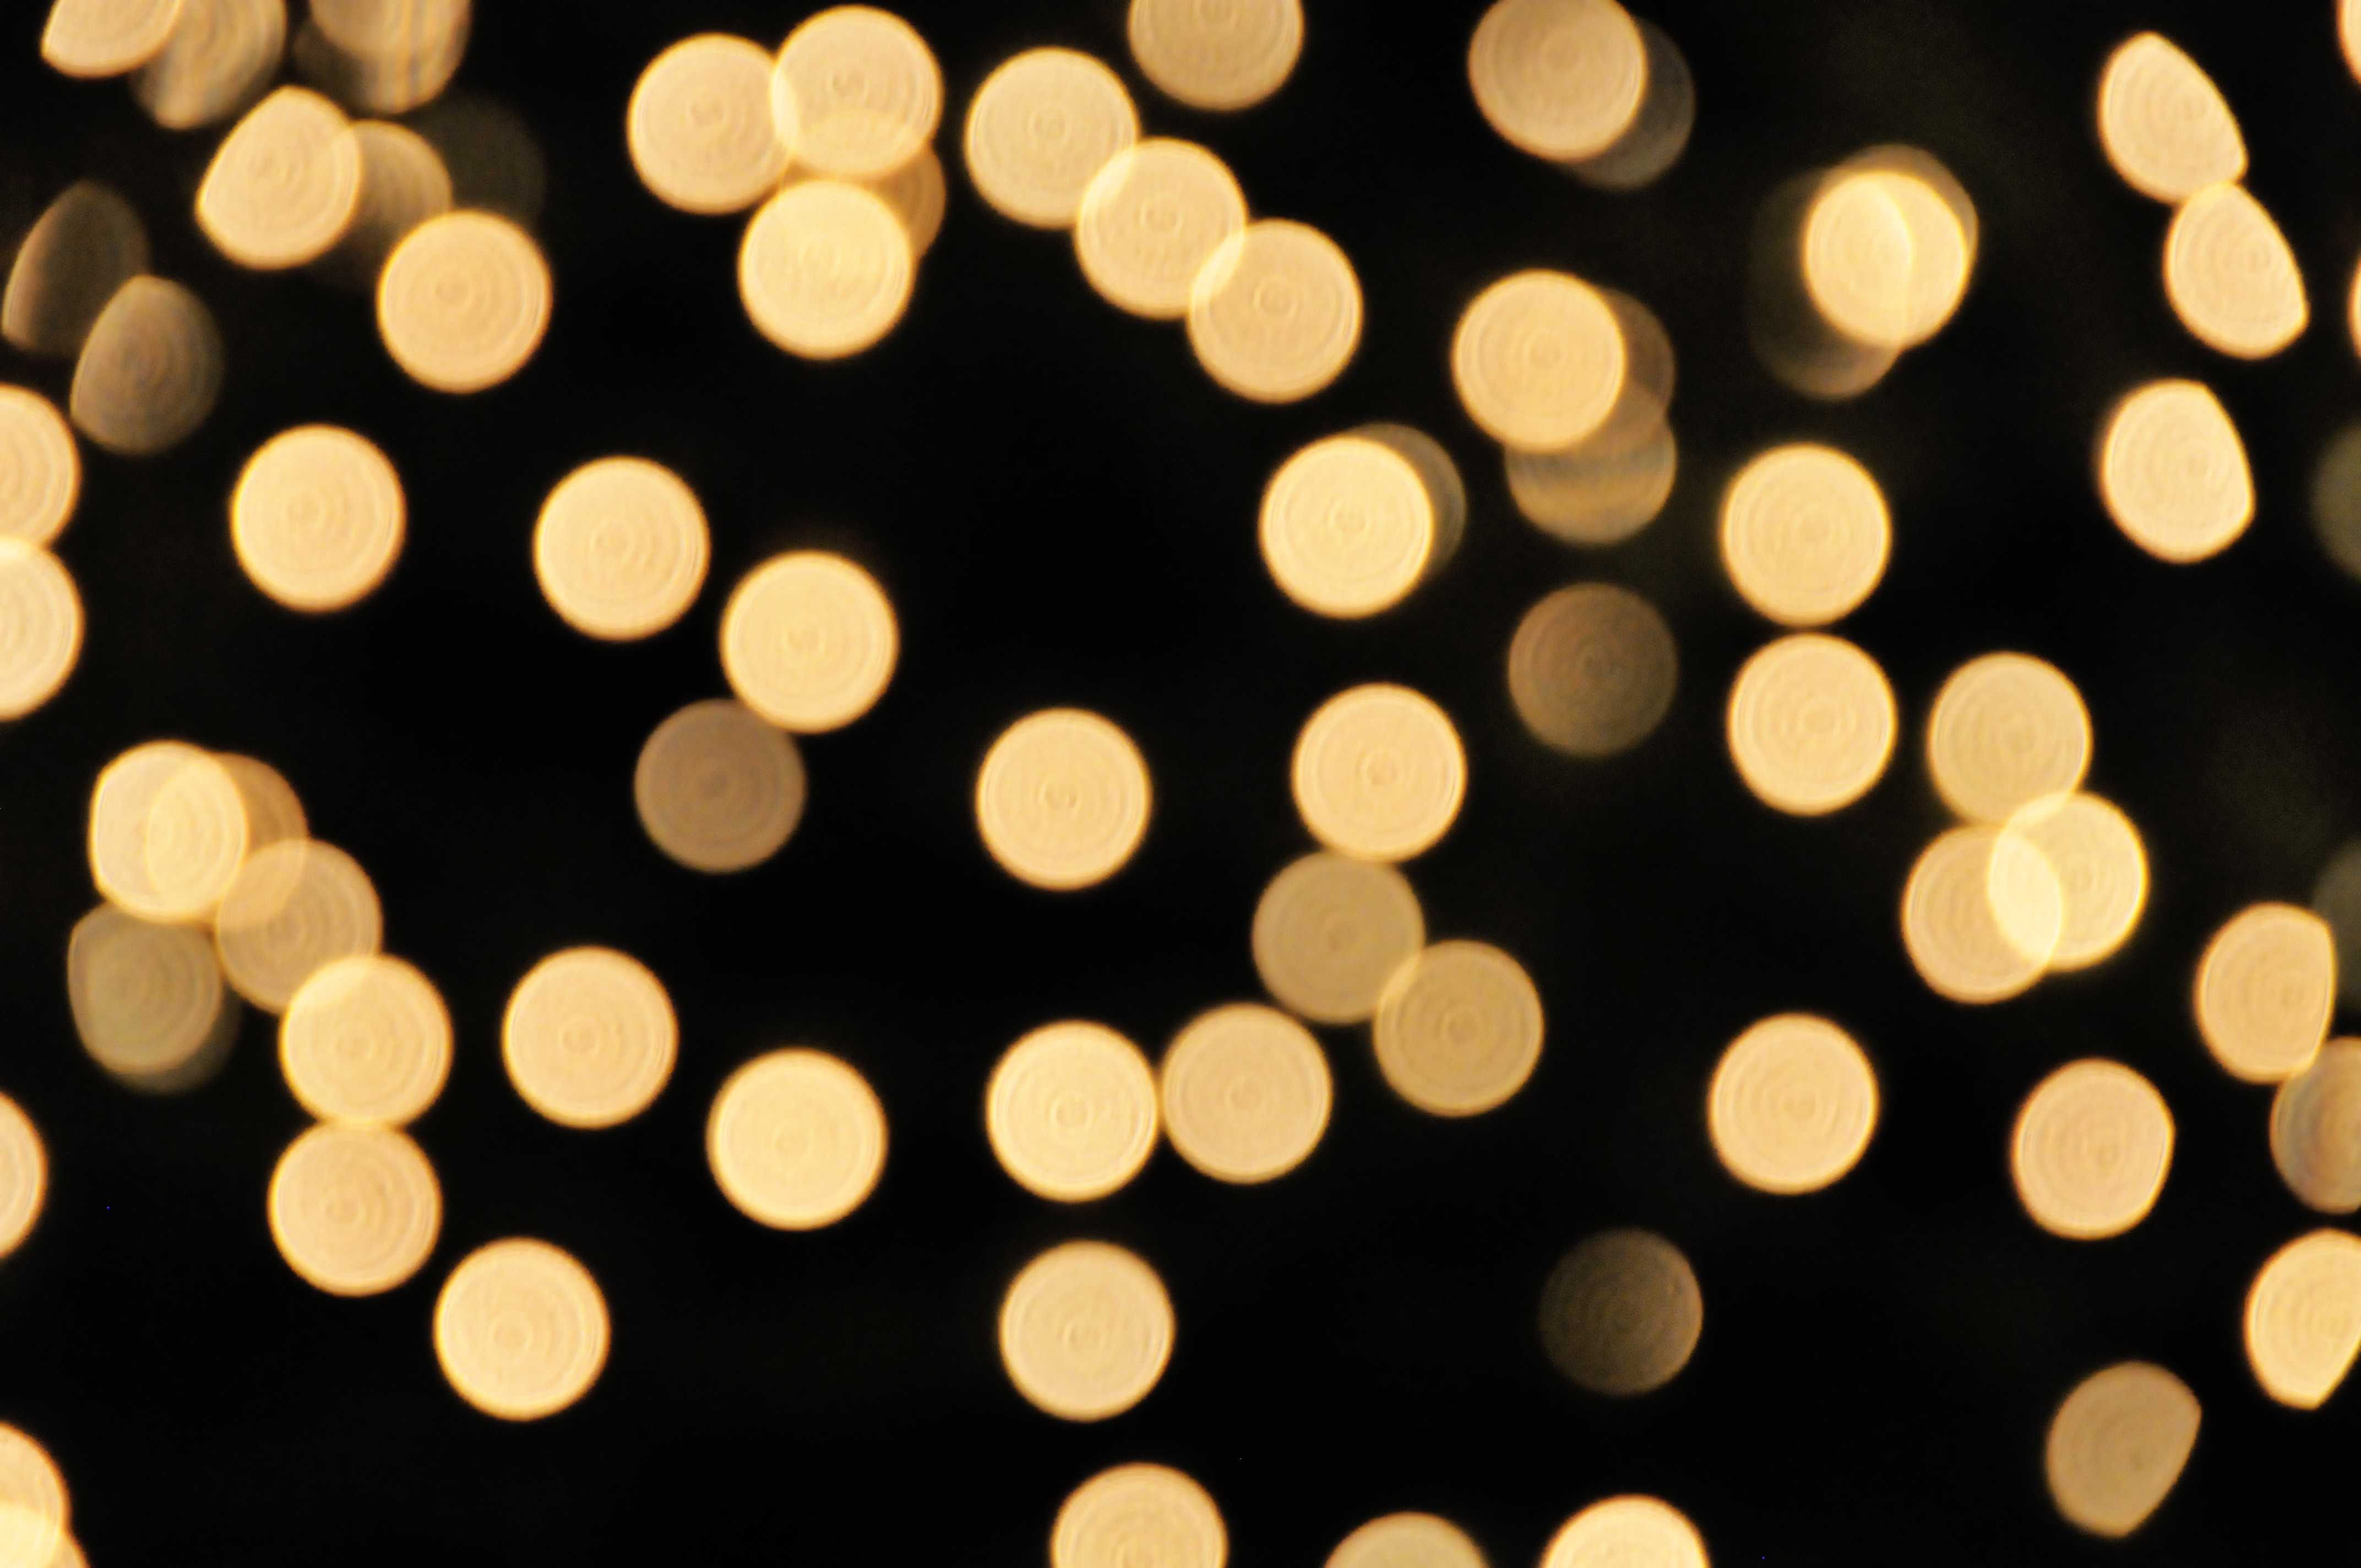
was "Bokeh". For those who may not know, Bokeh is a photographic technique
used mostly in portraits. Bokeh is when the highlights of the background are so
out of focus they become lots of circles. Although traditionally Bokeh is
circles, they can also be pentagons and hexagons, depending on how many blades
your aperture has. Sometimes bokeh can be morphed into shapes, such as little
hearts or flowers. This is achieved by cutting out a shape and placing it over
the lens. For the sake of professionalism and natural looks, I will explain 'natural' Bokeh. This image was found at http://fc08.deviantart.net/fs38/f/2008/362/b/e/bokeh_texture_by_ntscha.jpg
Bokeh is achieved by having such a narrow depth of field that
the background becomes unrecognis
able, and the detail just becomes a flat area. Bokeh is generally achieved when the background has lots of individual highlights such as Fairy lights or a busy road.
As I previously mentioned, Bokeh is caused by an extremely narrow
depth of field, depth of field is the area in which the image is in focus, a
large depth of field means the image is in focus for the majority of the shot,
such as a city-scape. A narrow depth of field means the focus range is minimal,
and the background (or foreground) is out of focus. To achieve a large depth of
field, an "Small" aperture is required, usually F/8 and beyond.
The trick to Bokeh, is having the aperture as wide open as
possible. The average lens will go back to around F/3.5, although this is
plenty for achieving a fairly narrow depth of field, this is usually not wide
enough to create bokeh. A lens reaching back to F/2.8 or lower is going to do
just fine. Alternatively, a Macro lens will create bokeh, but can be difficult
to use for a portrait shot.
For this task I used an old manual lens, a 1970's Nikkormat
F/2.8 50mm. This lens has an aperture ring,
which means my Camera body's Computer cannot set the aperture, it has to be
done manually. The focus was also manual, with no connection to my Camera AF mechanisms.
Having only been given a week to complete this task, and
being unable to find a model for a portrait, I decided this task would be done
as a still life shot. At that time I had no access to a multiple light source
that was suitable to give me a good bokeh image, most were using fairy lights,
however mine had sadly "expired" due to a small case of "clumsy
twat"...and the spares had also managed to break themselves.
 So I began searching for an alternative, which basically
meant I sulked at my desk for half an hour before I realised the solution was
right under my nose. On the desk lay a large piece of Cubic Iron Pyrite. On the
reverse side of this crystal, lay a cluster of tiny shiny gold crystals. This
cluster, upon illuminations from my studio light, would reflect lots of tiny,
scattered highlights, giving me a perfect bokeh.
So I began searching for an alternative, which basically
meant I sulked at my desk for half an hour before I realised the solution was
right under my nose. On the desk lay a large piece of Cubic Iron Pyrite. On the
reverse side of this crystal, lay a cluster of tiny shiny gold crystals. This
cluster, upon illuminations from my studio light, would reflect lots of tiny,
scattered highlights, giving me a perfect bokeh.
The golden shine of the Pyrite gave me a great tone and
bokeh, I just had to find something to stick in the foreground, something that
fitted the colour scheme. Being a man of little wealth I was yet again stumped.
Until it struck me....COINS.
I emptied through what one might call a "Savings
Jar", finding about 86 pence and an old roman coin I had purchased for 20p
about 3 years ago. The roman coin was the obvious choice!
Propping it up with a (fake) brass chain, I composed the
images, with my crystal in the background, time to think technical now.
The lighting was facing mostly dead on, to light both the
objects and the background. I placed the objects on a Djembe Afican drum, with a
black towel over the drum skin and stapled to the wall. Overall a basic setup
with one light.
To achieve the bokeh, I set the lens' aperture ring to F/2.8
and had a shoot around, despite using my wide aperture of F/2.8, I soon
realised that the objects were so small, that the crystal was peeping into my
depth of field...while I realise now that I probably could have just moved the
crystal, I decided to think a little outside of the box.
Having no macro lens to narrow down my depth of field, and
no wider aperture available in my kit bag, I decided to detach my lens from the
body, and hold it up to the camera body, with the focus ring wound all the way
back. Using a combination of swaying further and closer to the object, and
moving the lens further and closer to the camera body, I could locate a point
though the eyepiece in which the image was in focus. This technique is known as
"Free Lensing".
The problem with 'Free Lensing' is that light can creep
through the gap between the camera and the lens, over-exposing and washing out
the colours, to counteract this, you can purchase macro extension tubes. Connecting
to the camera like a lens, and then offering a lens attachment at the other
end. These tubes work in the same was as Free Lensing and cut out the light
pollution, some extension tubes can even auto-focus.
Having no extension tubes at that point, I just had to find
the right combination of lens-body distance and object - lens distance.
Another issue was my eyepiece focus component had been
slightly knocked in my camera bag, leaving me able to focus through the
viewfinder, but wondering why the resulting image was wrong. It took me a while
before I realised my eyepiece focus calibration was off. To fix this I attached
a new lens, using auto focus I locked focus down, and then calibrated the
eyepiece, turning the cog until the shot was sharp. I was now calibrated and
ready to try again.
Once I had enough shots, I loaded the images into
Photoshop's RAW processing and began making tweaks. Firstly, I upped the
exposure a tiny bit, bringing the overall shot to a decent exposure. Instead of
adding contrast, I brought the Highlights and Whites sliders up a little. The darks
were quite abundant, so I lightened the Shadows, but darkened the blacks, this
highlighted some of the shadows, but darkened what was left, giving me lots of
detail and some nice shadow.
I then increased the Clarity (Mid-tone contrast) of the
overall image, and using the brush, exaggerated the clarity of the coin. I then
warmed the temperature of the image slightly, and saved to JPEG. This is the
Result.

Please feel free to add me on Facebook at:https://www.facebook.com/profile.php?id=100007321418710
Alternatively you can follow me on Twitter at: https://twitter.com/AJTPhotographer
No comments:
Post a Comment